Inside a One-Day Install: How Our Crew Coats Your Floor, Step by Step
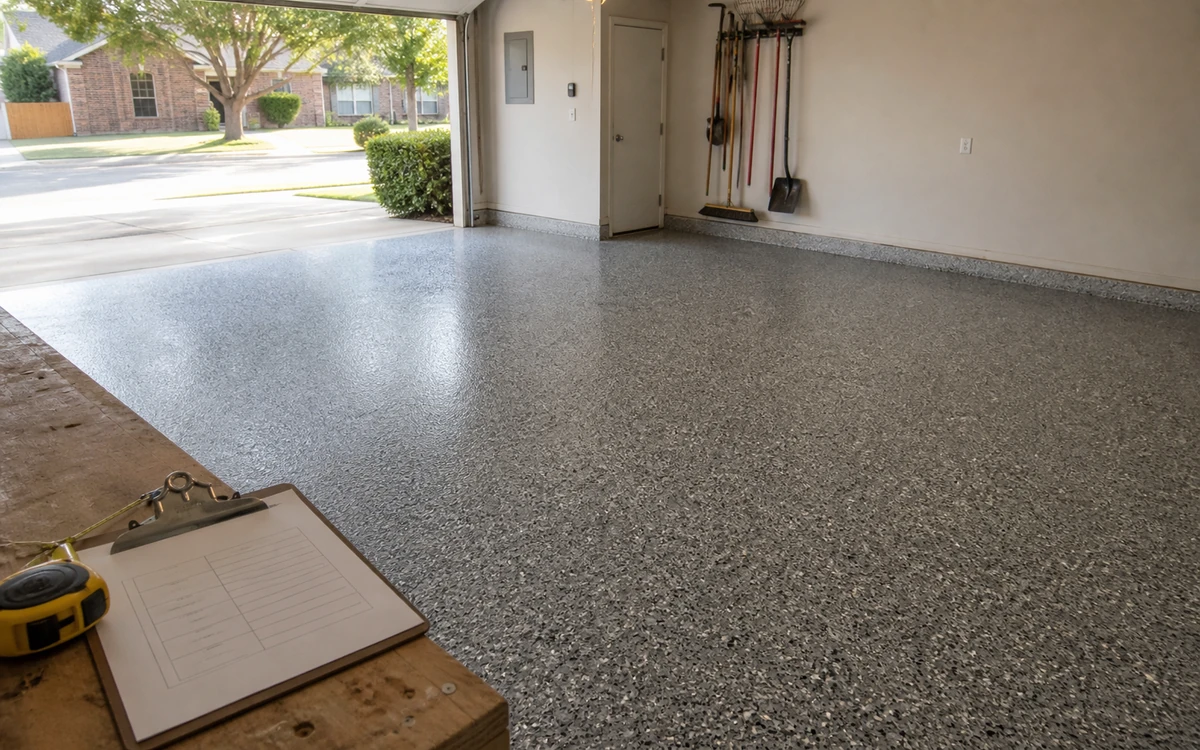
One-day installation sounds like a marketing line until you watch it happen. Here's the real timeline of a typical Shield Pro install, so you know exactly what to expect when our crew pulls up.
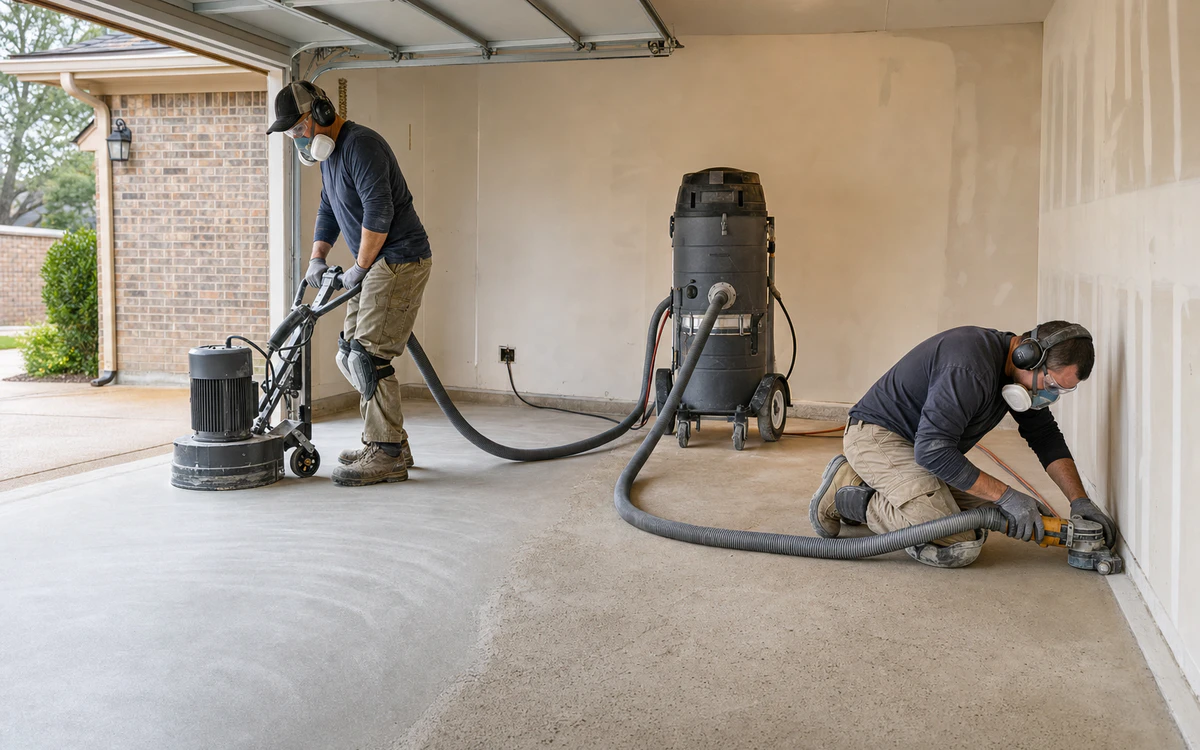
8:00 AM — Prep and diamond grinding
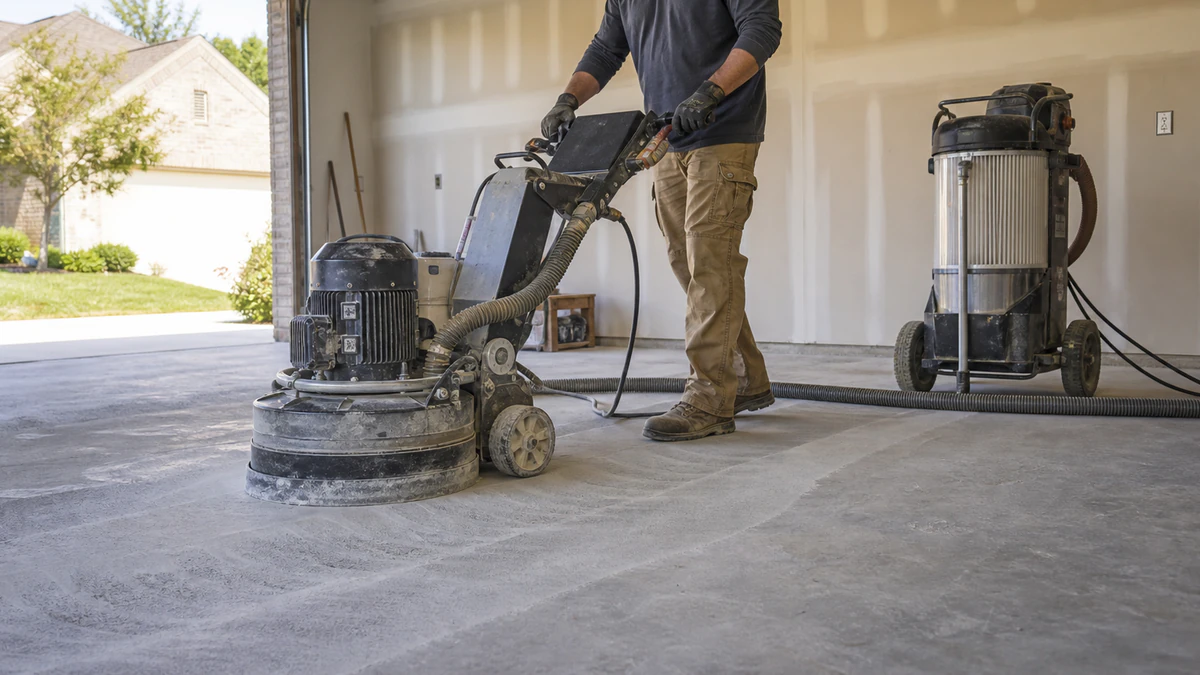
Everything starts with the slab. We diamond-grind the entire surface to open the concrete's pores — this is what creates the permanent mechanical bond coatings are famous for. Skipping or shortcutting this step is the number one reason DIY and budget jobs fail.
Late morning — Crack repair and base coat
Hairline cracks get filled with flexible repair material so they telegraph through nothing. Then the 100% solids polyurea base coat is poured and squeegeed edge to edge, self-leveling into a perfectly uniform layer.
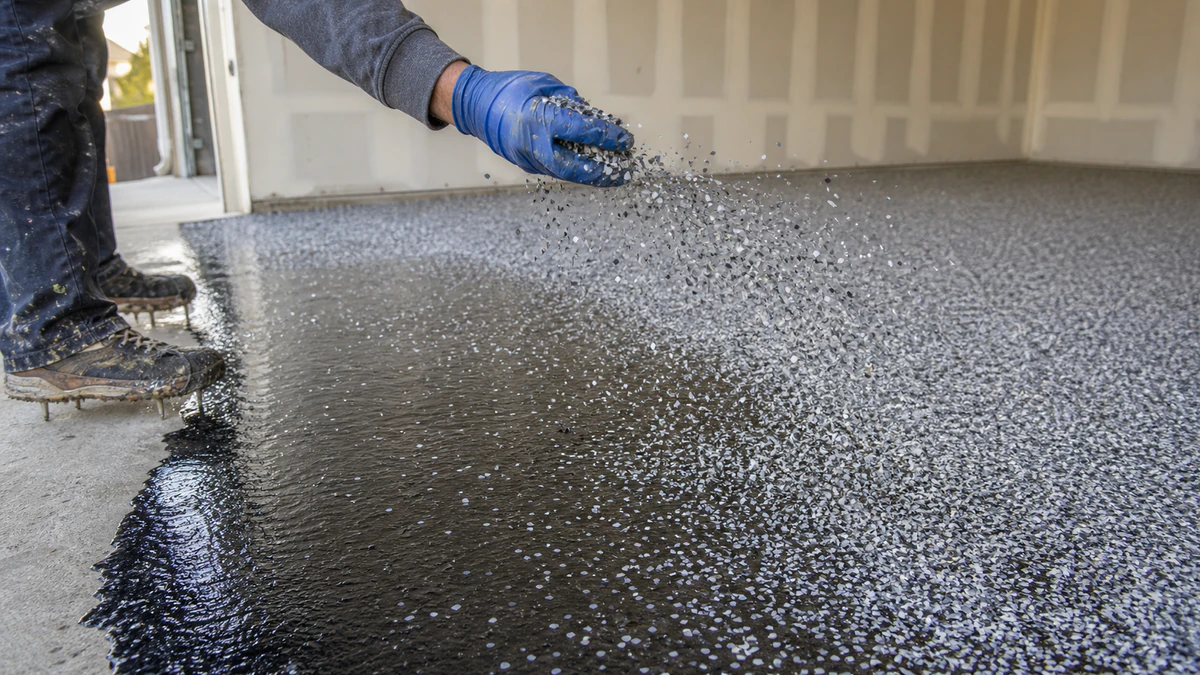
Midday — The flake broadcast
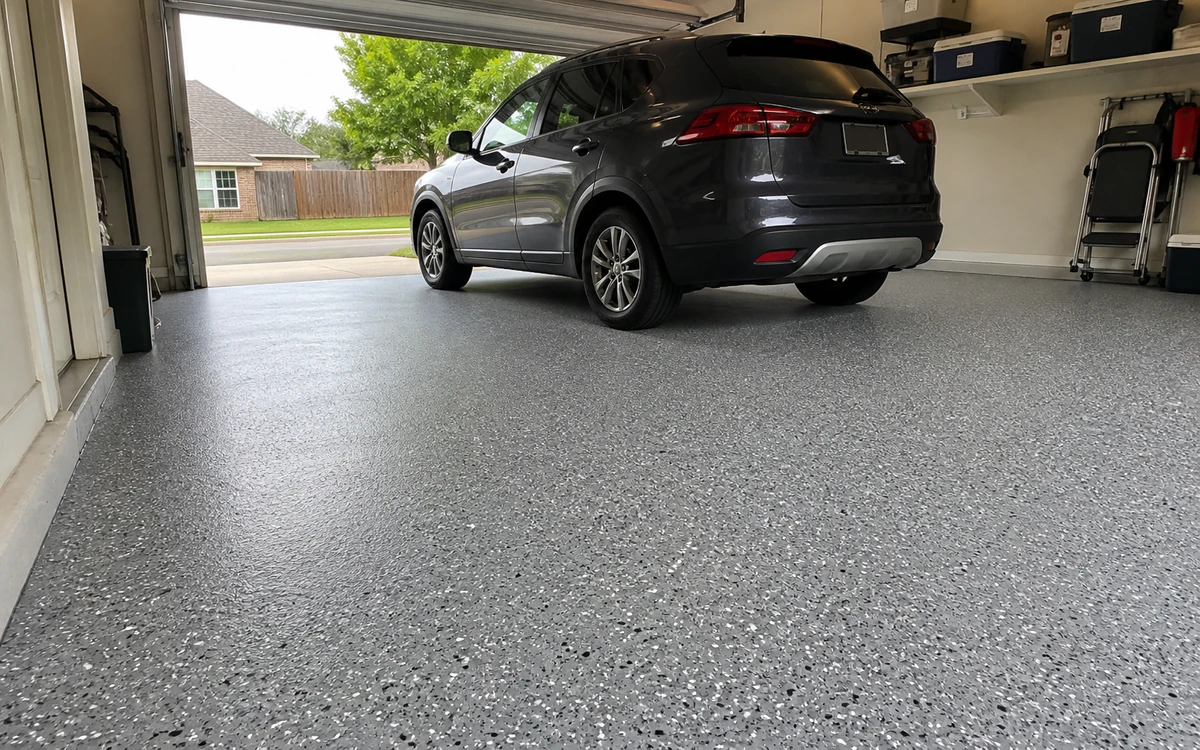
While the base is still wet, your chosen blend is broadcast to full rejection — meaning we throw far more flake than can stick, then remove the excess later. That's how you get complete, even coverage with zero thin spots.
Afternoon — Scrape, seal, and walkthrough
Once cured, the floor is scraped smooth, vacuumed, and sealed with the UV-stable clear topcoat. We finish with a walkthrough alongside you. Foot traffic is typically fine within hours; vehicles park the next day.
What you should expect from any professional crew
- Diamond grinding with dust extraction — never just an acid wash.
- Crack and joint repair included in the quote, not as a surprise add-on.
- Full-rejection flake broadcast for even color and texture.
- A written lifetime warranty handed over at the walkthrough.
Ready to see it on your floor?
Free on-site estimate. One-day install. Lifetime warranty.